

 Français
 How To Grow Autoflower Seeds
Autoflowering cannabis plants have become increasingly popular due to their versatility, quick harvest time, and easy cultivation. Autos are a type of cannabis flower that automatically switches from the vegetative phase to the flowering stage without any changes in a light cycle or other environmental conditions.
On average, autoflower cannabis seeds take anywhere from 8 to 11 weeks from seed to harvest, depending on the strain and environment they’re grown. Generally speaking, shorter autoflower strains will finish faster than taller ones and outdoor grows tend to be faster than indoor grows.
As with all types of cannabis plants, autoflowering marijuana strains need plenty of light (they love direct sunlight!), proper nutrition throughout their growth cycle, and proper watering/humidity levels for optimal yields. With these tips in mind, you should be able to easily grow your autoflower crop in no time at all!
Light Schedule For Autoflowering Strains
When growing autoflowering cannabis strains, it is important to manage your H2 light schedule for optimal results. The H2 cycle (short for 12-12) consists of 12 hours of light and 12 hours of darkness. This light cycle triggers the plant to enter its flowering stage, which is necessary for producing buds.
For autoflowers to reach their full potential and yield the greatest harvest, they require a strict H2 light cycle that starts as soon as you turn them on and continues until harvest. During the vegetative stage, autoflowers need 18-24 hours of light per day, and during flowering phases, they should receive only 12 hours of light per day.
It is also important to note that while all types of lighting can be used to grow autoflower plants, LED lights are typically preferred due to their energy efficiency and ability to produce more usable light than other types of lamps. With a proper lighting schedule in place, you can rest assured that your autoflower crop will thrive!
A Note On pH
It is important to ensure that your plants have the correct pH levels for optimal growth. Autoflowering strains need slightly acidic soil, usually between 5.5 and 6.5 on the pH scale, with a slightly higher range (6-7) being acceptable for some varieties.
The pH level is important because it affects how well plants can absorb nutrients from the soil, which in turn affects their health and productivity. Improper pH levels can lead to nutrient deficiencies, stunted growth, and poor yields. To check your plants’ pH levels, use an inexpensive meter or testing kit available at most garden centers or online retailers.
Once you know what your levels are, you can adjust them as needed with either acidifying or alkalizing agents like sulfuric acid or lime. With proper attention to pH, you’ll be sure to get the best results from your autoflowering crop!
More: Can You Clone Autoflower?
Autoflowering Grow Guide: How To Grow Autoflowers Week By Week
Autoflower plants are great for those looking to get multiple harvests in a single season. With the right guide on how to grow autoflower seeds week by week, even intermediate growers can enjoy plentiful and successful harvests.
With the right knowledge and preparation, you can easily achieve success with autoflower cannabis plants! Get ready to take your first steps into the germination and early seedling stage in week one of your growth.
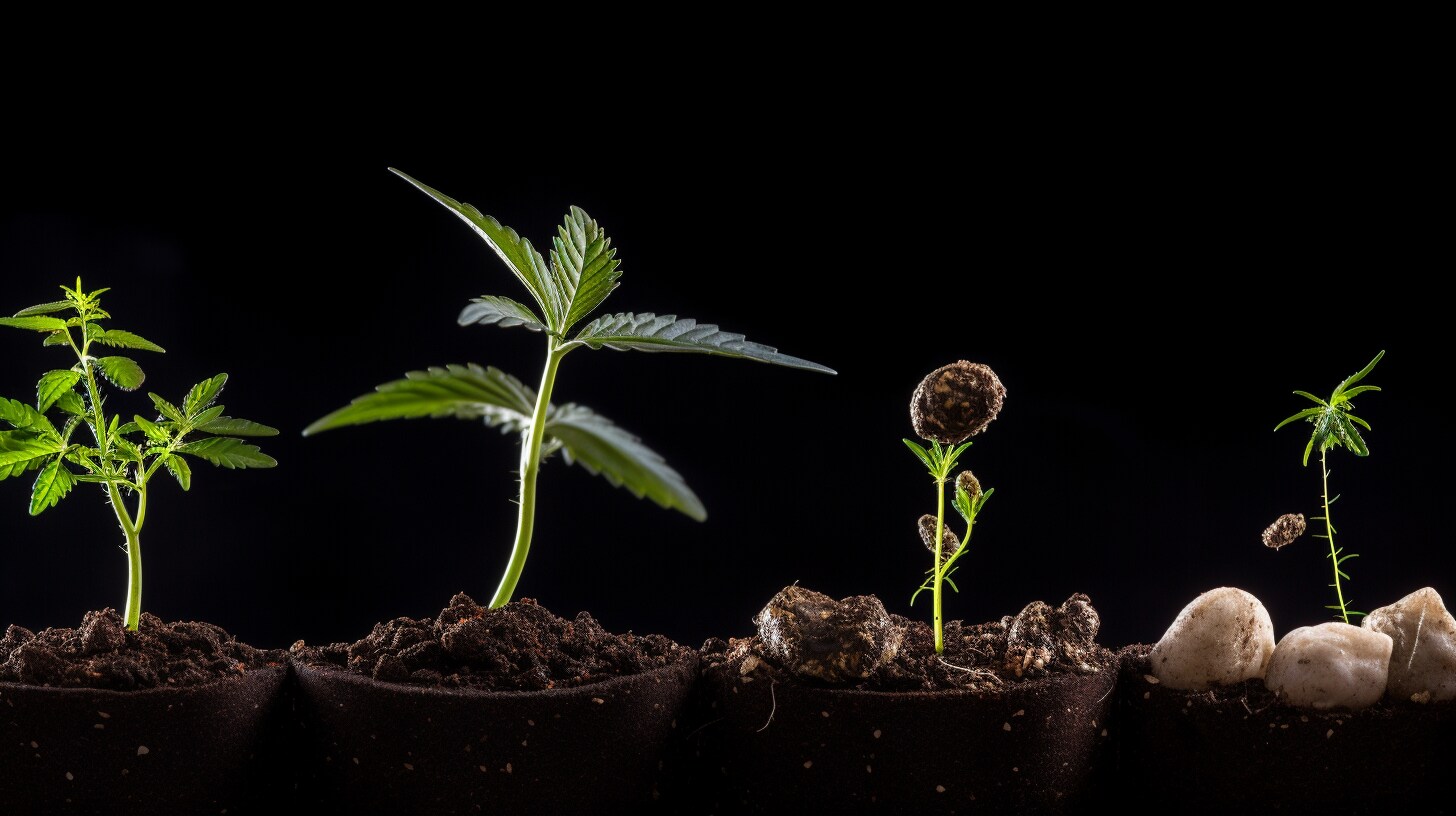
Week 1: Germination And Early Seedling Stage
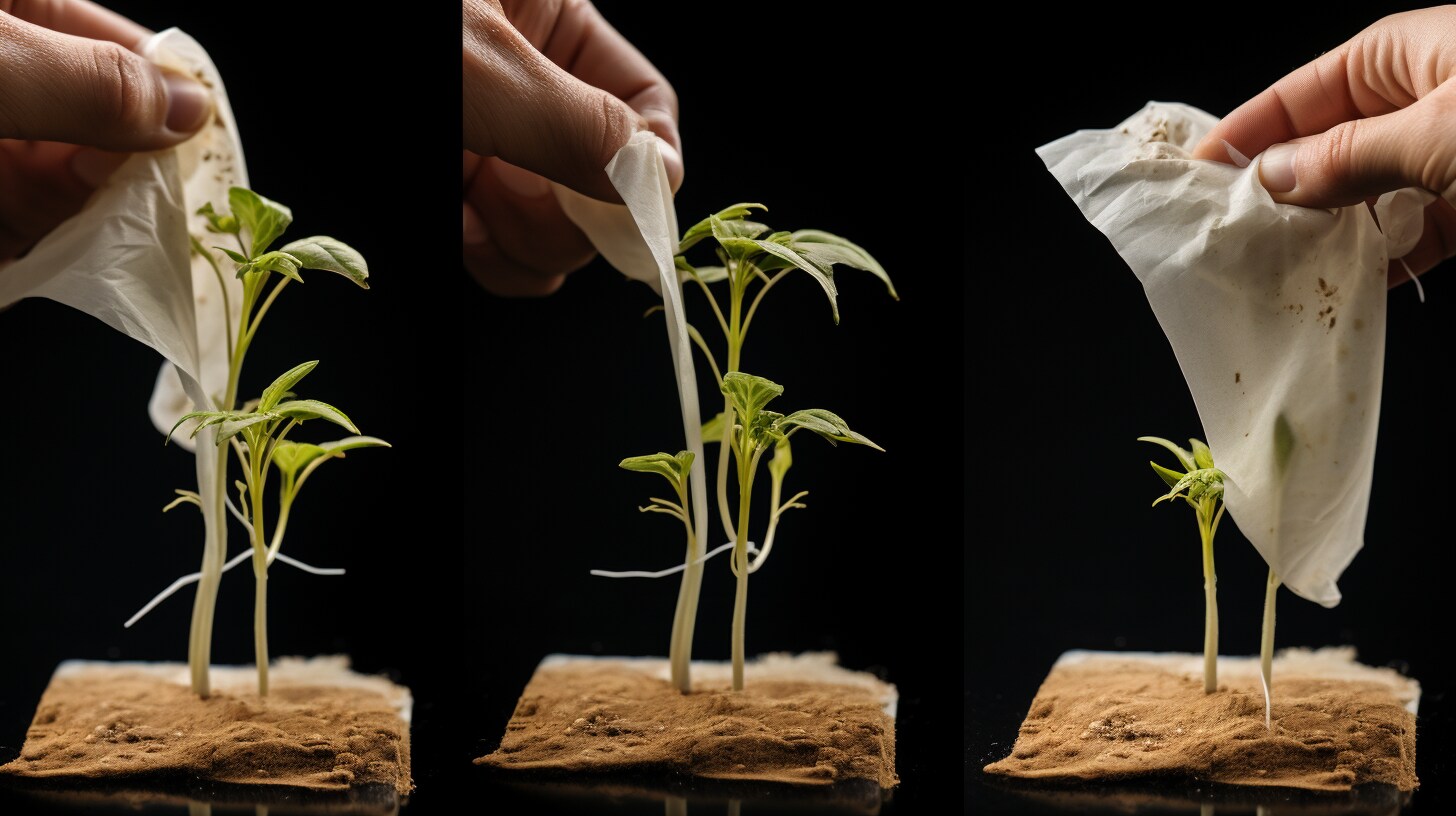
The germination and early seedling stage of an autoflowering grow is key to a successful harvest. During this time, you'll need to ensure that the soil has the correct pH level and that it's free of pests or diseases. Additionally, you'll need to provide adequate lighting, ventilation, and other supplies for the plants.
You'll also want to make sure that you keep your growing space at the correct temperature and humidity levels during this time. For best results, keep temperatures between 65-80 degrees Fahrenheit (18-27 degrees Celsius) with 40-50% relative humidity.
Finally, be sure to water your seedlings regularly but not too much as to cause over-saturation. This will help promote healthy root systems and vigorous growth in the weeks ahead. With proper care during week one of your autoflowering growth, you can set yourself up for success!
Week 2: Late Seedling Stage
The late seedling stage of autoflowering growth is all about optimizing the plant's environment to promote healthy growth and development. During this time, you'll want to adjust your light cycle from 18 hours on and 6 hours off to 12 hours on and 12 hours off. This will help your plants transition into a vegetative state.
You'll also want to make sure that your soil has the right balance of nutrients, water, and air for growing strong and healthy autoflowering plants. Feed your plants with a nutrient-rich fertilizer, but be careful not to over-fertilize them as this can cause nutrient burn.
Make sure that you continue monitoring the temperature, humidity, and other environmental factors throughout this stage as well. Keeping these conditions ideal will ensure that your plant grows at its best rate and with proper vigor during this crucial period of development. With proper care during week two of your autoflowering growth, you can set yourself up for success!
Week 3: Vegetation Well Underway

Week 3 of autoflowering growth is a pivotal stage in the plant's development. During this time, you'll want to provide plenty of light and nutrients while keeping environmental factors such as temperature and humidity in check.
To give your plants the best chance of success, start by increasing the light cycle from 12 hours on and 12 hours off to 18 hours on and 6 hours off. This will help your plants transition into vegetative growth.
You should also begin feeding them with nutrient-rich fertilizer at this point in their growth cycle. However, be sure not to over-fertilize as this can cause nutrient burn.
In addition, continue monitoring environmental factors such as temperature, humidity, pH levels, etc., throughout this period to ensure that they remain optimal for healthy growth and development.
Week 4: Late Vegetative Phase
Week 4 of autoflowering growth is the late vegetative stage, where your plants' growth will begin to accelerate. During this time, you'll want to continue providing plenty of light and nutrients while keeping environmental factors in check.
Additionally, this is when you should begin training your plants. This can include techniques such as topping, fimming, low-stress training (LST), and super cropping - all of which help to encourage bushy growth and increase yields.
Be sure to inspect your plants regularly for signs of nutrient deficiencies or pests/diseases during this period. You may also want to start prepping your flowering area if you haven't done so already. This includes setting up fans and other ventilation equipment, as well as making sure your lights are hung in the optimal positions for maximum coverage.
Providing proper care during Week 4 of an autoflowering grow is essential in getting your plants ready for the flowering stage! With proper attention and maintenance throughout this period, you can ensure that they have a strong foundation upon which large yields can be achieved down the line.
Week 5: Flowering Begins
Week 5 marks the beginning of the flowering stage for autoflower marijuana plants. During this period, you'll want to begin reducing light exposure and start providing more nutrients targeted toward helping your plants flower.
This includes switching to a bloom fertilizer, as well as adding in any supplements like silica or calcium that can help promote strong bud growth. Additionally, it's important to make sure your plants are receiving adequate air circulation throughout their flowering cycle.
You may also want to consider using tools such as trellising or netting during this period, as they can help support heavy buds and reduce issues such as drooping branches. During Week 5, you may also want to begin pruning some fan leaves from your plants if needed - this will help improve overall airflow and light penetration to lower areas of the plant.
Week 6: Things Start To Smell
Week 6 is an exciting time in the entire life cycle of autoflower marijuana plants as buds begin to form and mature. During this period, you'll notice a distinct aroma coming from your plants - it's a sign that things are progressing nicely!
At this stage, you'll want to continue providing your plants with adequate air circulation and ensure they're receiving all the nutrients they need. You may also want to consider adding in any supplements like silica or calcium that can help promote strong bud growth.
Additionally, be sure to prune fan leaves from your plants if needed - this will help improve overall airflow and light penetration for lower areas of the plant.
Finally, keep an eye out for signs of pests or diseases throughout this time and act quickly if necessary. By following these steps during Week 6, you can look forward to an abundant harvest come harvest time!
Week 7: Routine Checks Are Key
Week 7 is an important time for autoflowering plants, as it's the last stretch before harvest. It's essential to give your plants routine checks and maintenance during this time to ensure that everything is going smoothly.
You'll want to monitor them closely for any signs of pests or diseases, check that the roots are healthy, and make sure they're receiving adequate air circulation and nutrients. If you spot anything out of the ordinary, act quickly by applying the appropriate treatments.
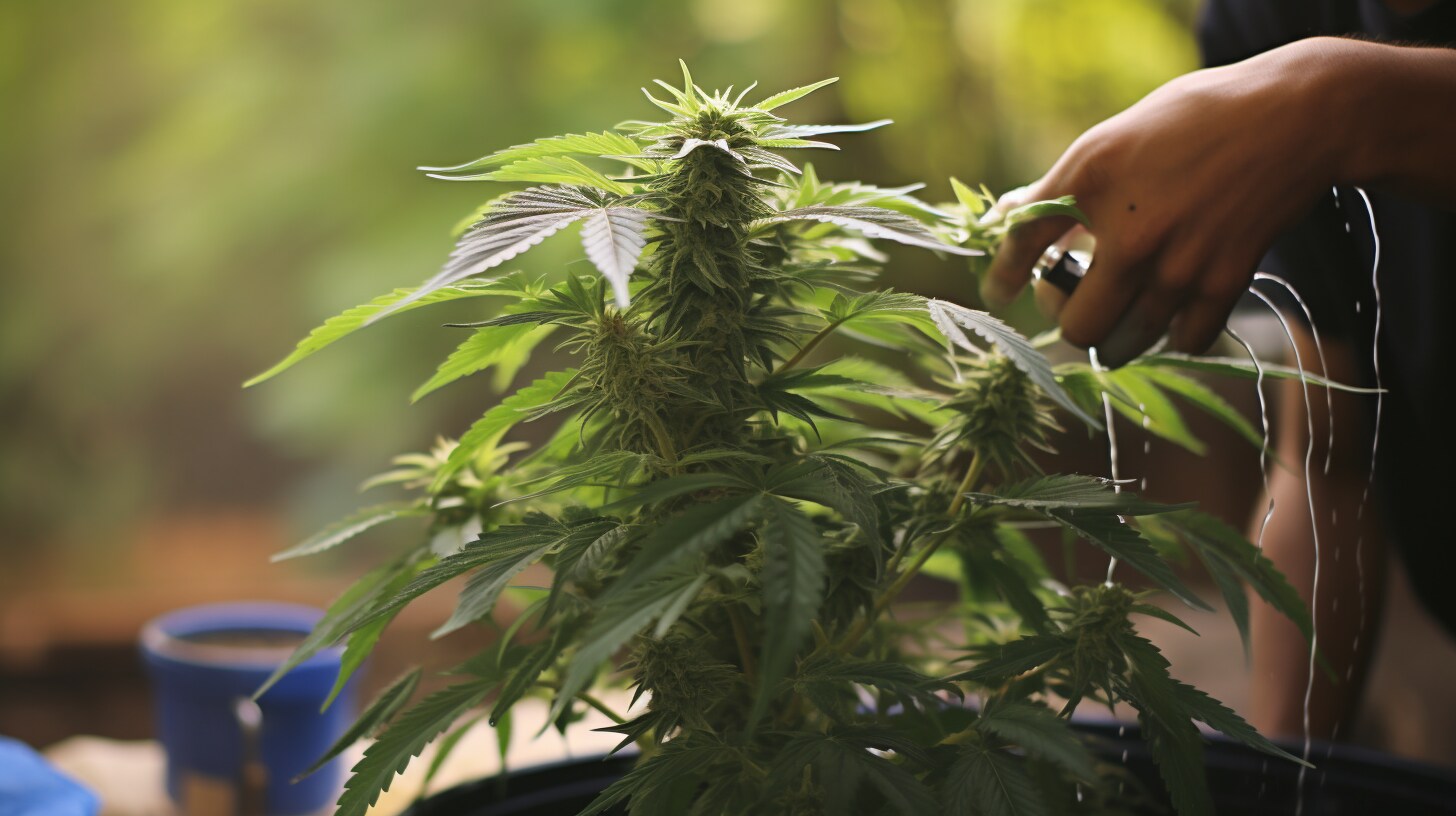
You may also want to consider topping your plants if they need it - this will help keep their height in check while ensuring they get enough light exposure throughout the entire canopy. Additionally, now is a good time to start flushing your cannabis plants with water if you plan on doing so before harvest. This will help remove any excess fertilizer salts from the soil, resulting in tastier buds come harvest time!
Week 8: Flush And Defoliate
Week 8 is the last leg of your autoflowering plant's journey before harvest. This is the time to give them one final push so they can reach their full potential! Flushing and defoliation are two important steps during this week to give your plants the best chance at a high-quality yield.
Flushing involves running pure water through your soil or growing medium and removing any accumulated fertilizer salts that may have built up over time. This will help ensure that your buds are free from chemical residue when it comes time to harvest.
Defoliation, on the other hand, involves selectively pruning away any leaves that aren't receiving enough light exposure or are blocking air circulation. This will help optimize light penetration throughout the entire canopy and allow for better nutrient absorption.
Overall, taking the time to flush and defoliate your autoflowering plants during Week 8 can make all the difference in terms of quality come harvest time! With a little bit of effort, you'll be rewarded with an abundance of delicious buds!
Week 9: The Finish Line Approaches
The finish line is in sight! Week 9 marks the last week of the autoflowering plants' journey before harvest. This is an important week for ensuring that your plants have reached their full potential, and there are a few simple steps you can take to make sure that you get the most out of your hard work.
First, be sure to check on your plants daily to monitor their progress. Pay attention to any signs of stress or nutrient deficiencies and address them immediately if they arise. Also, it's essential to keep up with regular watering and feeding schedules throughout this final stage.
Finally, make sure to give your plants some extra love during this time by providing them with adequate ventilation and light exposure. This will help ensure that each bud reaches its maximum size and potency before harvest day arrives.
Week 10: Harvest!
Week 10 marks the exciting moment you've been waiting for harvest time! After a long growing season, it's finally time to reap the rewards of your hard work.
Before beginning to harvest, it's important to check that your plants are ready. Look for signs such as trichome coloration and bud density that indicate that the plant is mature enough for picking. Then make sure you have all of the necessary tools on hand, such as scissors and trimming shears.
When harvesting, start from the bottom and slowly work your way up so you don't miss any buds. Make sure to cut each stem carefully and take extra care not to damage any of the flowers or leaves in the process. Once all of the buds have been picked, hang them upside down in a cool and dry area with good air circulation for drying.
Finally, after about two weeks of drying time (depending on humidity levels), your crop will be ready for curing! Now it's time to sit back, relax, and enjoy those delicious buds!
How to Determine When to Harvest Your Autoflower Plants?
When it comes to harvesting your autoflower plants, there are a few key factors to consider. The most important thing is to watch the trichomes closely. Trichomes are the tiny crystal-like glands that cover the buds and leaves of your plants. As they mature, they change color from clear to cloudy or milky white, an indication that they’re ready to be harvested.
It’s also important to pay attention to the size and density of the buds, as well as their aroma. When buds start to swell and become dense, it’s usually a sign that they’re ready for harvest. Additionally, a strong aroma will indicate that your plants are ripe and ready for picking.
Finally, you can use a magnifying glass or jeweler's loupe to get a closer look at your trichomes—this will give you an even more accurate idea of when it’s time for harvest. Once you've determined that most of the trichomes have turned white and other signs point toward maturity, it's time to cut down your plants and begin curing them!
Which Autoflower To Choose?

Choosing the right autoflower for your next grow is an important step in ensuring a successful harvest. Autoflowers have many advantages, such as fast flowering times and high yields, making them a popular choice for home cannabis growers. Before selecting your autoflower, consider factors such as strain type, climate, and grow area size.
Indica-dominant autoflowers tend to flower faster than sativa-dominant types and are better suited for colder climates with shorter growing seasons. Sativas are more suitable for warm climates with longer summers. When it comes to growing area size, keep in mind that some varieties may require more space than others due to their height or branching tendencies.
Conclusion
In conclusion, growing autoflower seeds can be a rewarding experience for any cannabis enthusiast. With proper care and attention to detail, you should be able to achieve maximum yields with any type of autoflower strain.
That being said, it’s important to understand that different types of autoflower strains will yield different amounts of cannabis, with an average yield between 200 and 400 grams per plant. Ultimately, the key to achieving success when growing autoflowers is understanding the specific needs of each strain and providing the best possible conditions for them to thrive.